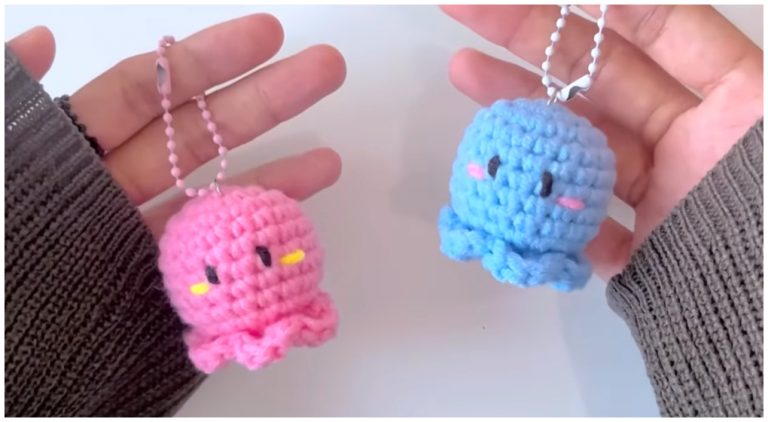
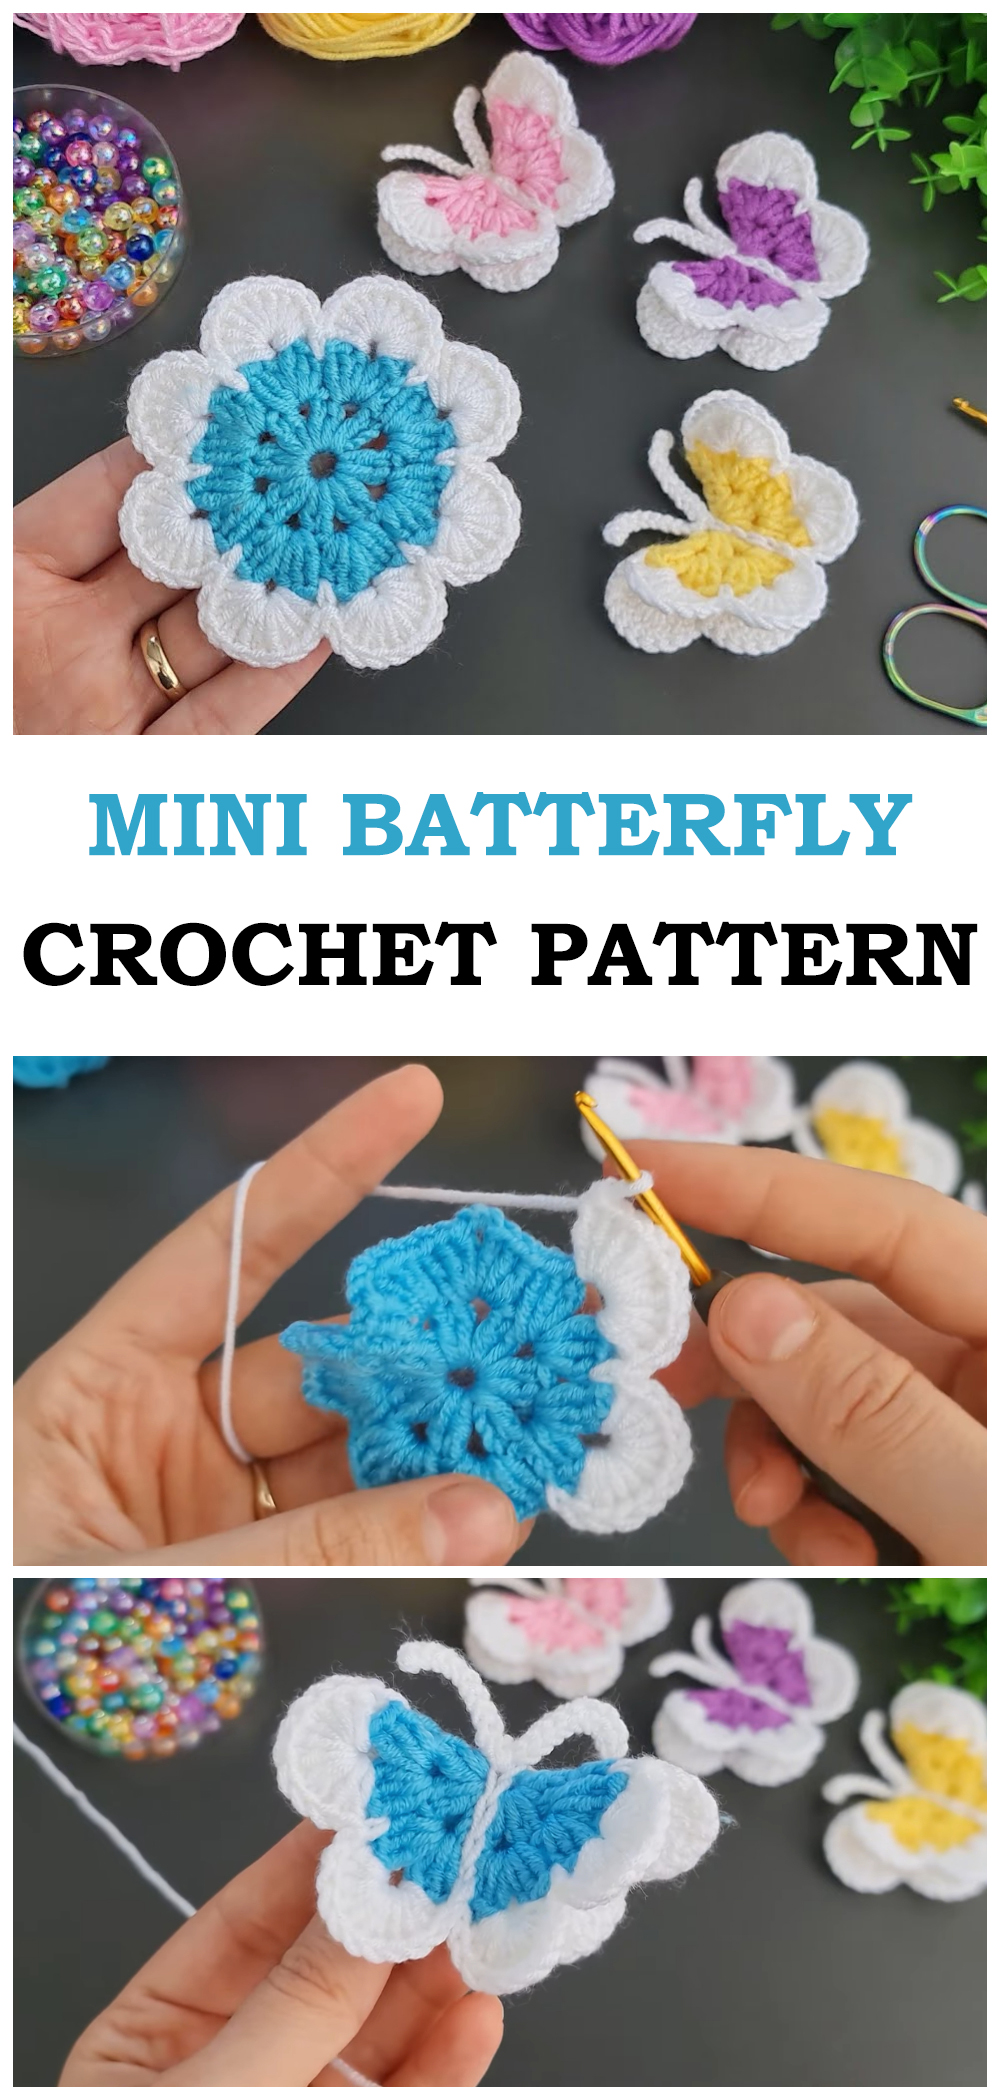
Crochet butterfly keychains are adorable, quick projects that use very little yarn. They are perfect for beginners, great for using leftover yarn, and make wonderful handmade gifts. This mini butterfly keychain can be finished in less than an hour and attached to keys, bags, or backpacks.
Materials Needed
To crochet a mini butterfly keychain, gather the following materials:
Cotton or acrylic yarn (two colors: one for wings, one for body)
Crochet hook (2.5–3.5 mm recommended)
Yarn needle
Scissors
Keychain ring
Stitch marker (optional)
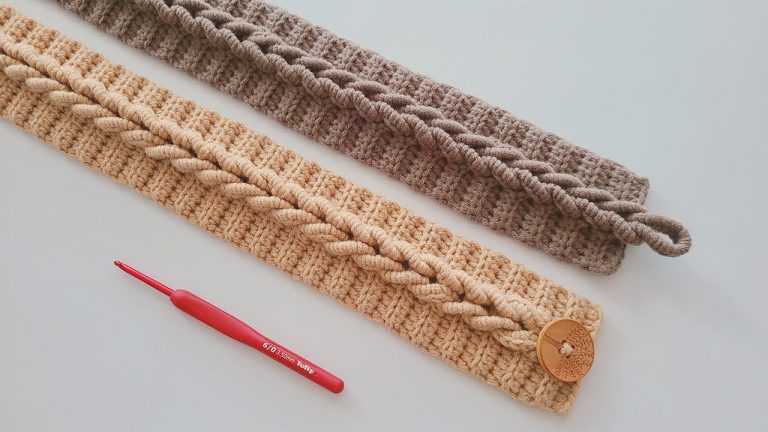
Using cotton yarn helps the butterfly keep its shape, but acrylic yarn also works well for beginners.
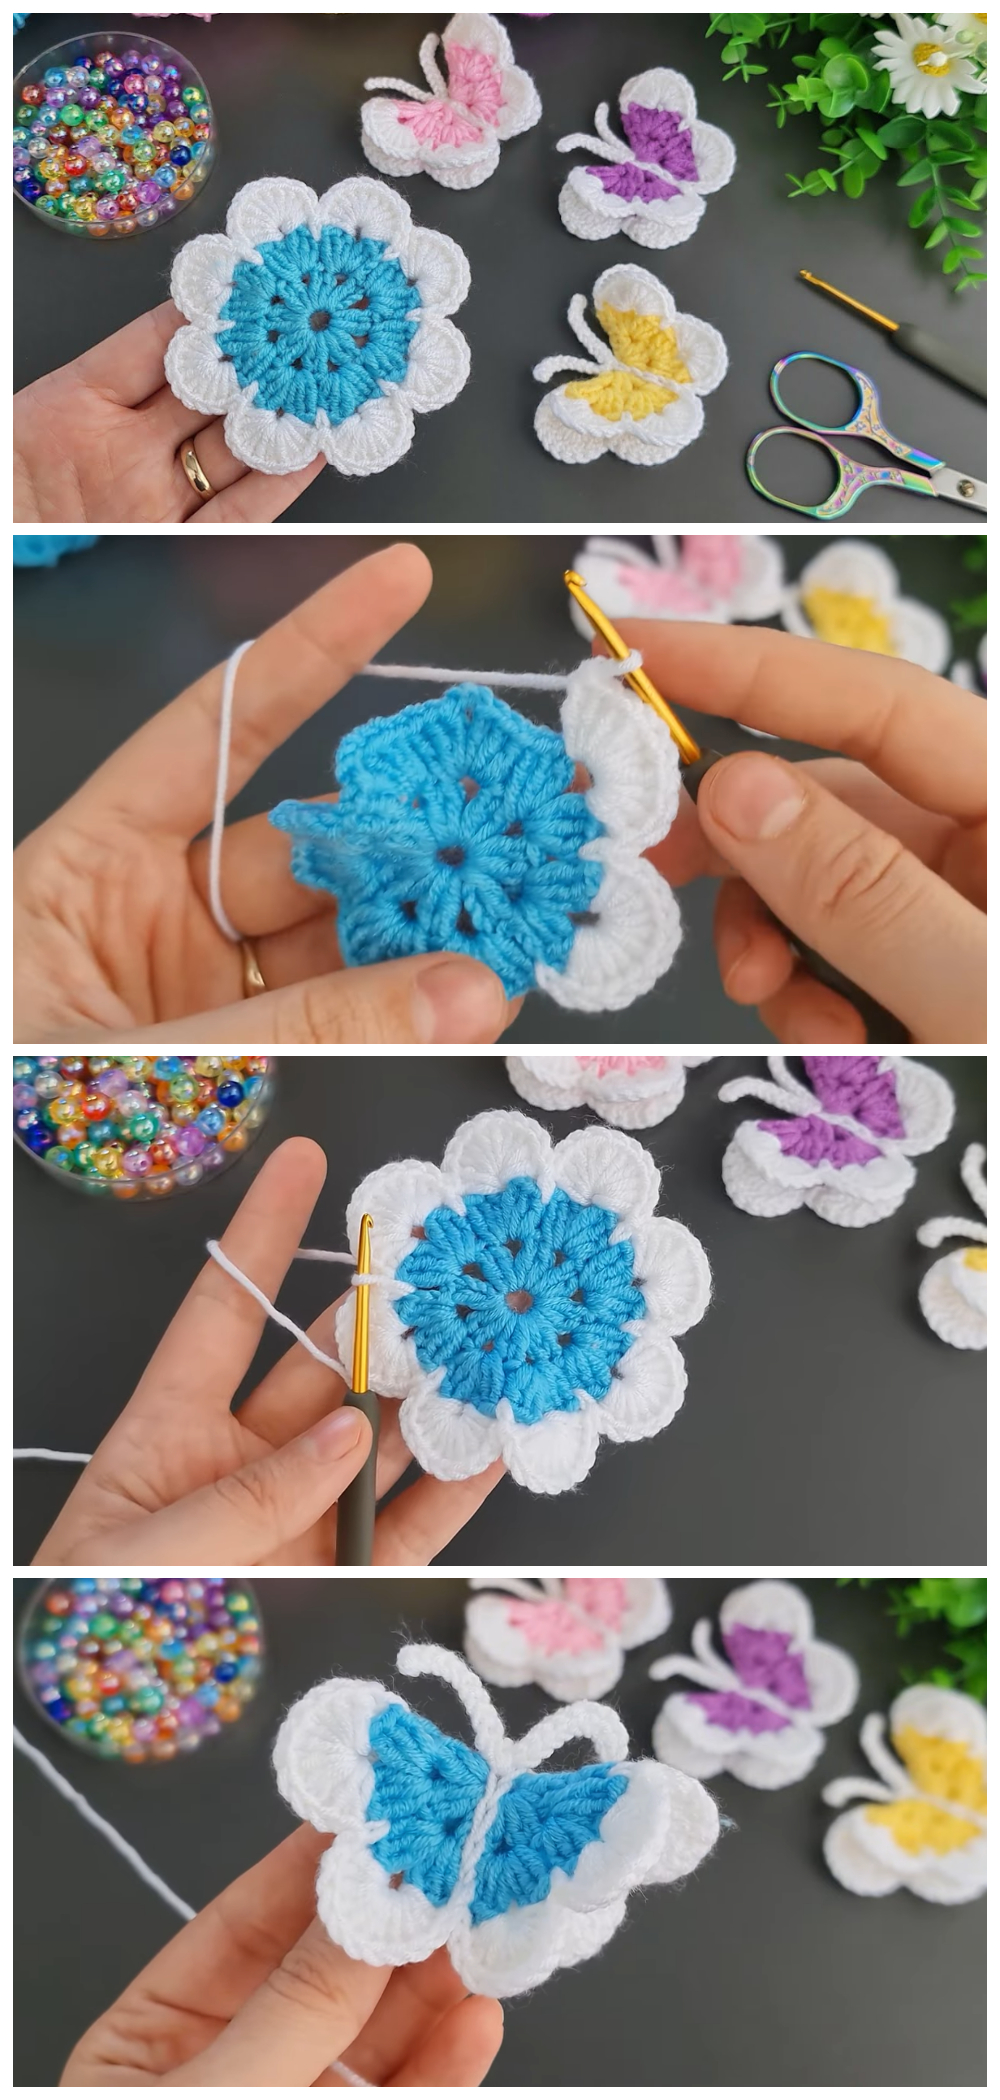
Step 1: Crochet the Upper Wings
Make a magic ring.
Ch 3 (counts as first dc).
Work 2 dc, 2 tr, 2 dc into the ring.
Ch 2 and sl st into the ring.
This forms the first upper wing of the butterfly.
Repeat the same stitches into the magic ring again to create the second upper wing.
Pull the ring tight to close.
Step 2: Crochet the Lower Wings
Into the same magic ring:
Ch 2
Work 2 hdc, 2 dc, 2 hdc
Sl st into the ring.
Repeat this sequence again to form the second lower wing.
You should now have four wings total.
Fasten off and weave in ends.
Step 3: Make the Butterfly Body
Using a contrasting yarn color:
Insert hook through the center of the butterfly.
Chain 8–10 stitches.
Slip stitch back down the chain.
Wrap the yarn around the center of the wings several times to create the body shape, then tie securely at the back.
Leave two small yarn ends at the top to form antennae.
Step 4: Attach the Keychain
Insert the key ring through the top center of the butterfly.
Use yarn or a small chain to secure it.
Tighten and knot securely.
Your mini butterfly keychain is now ready to use.
Free Video Tutorial: